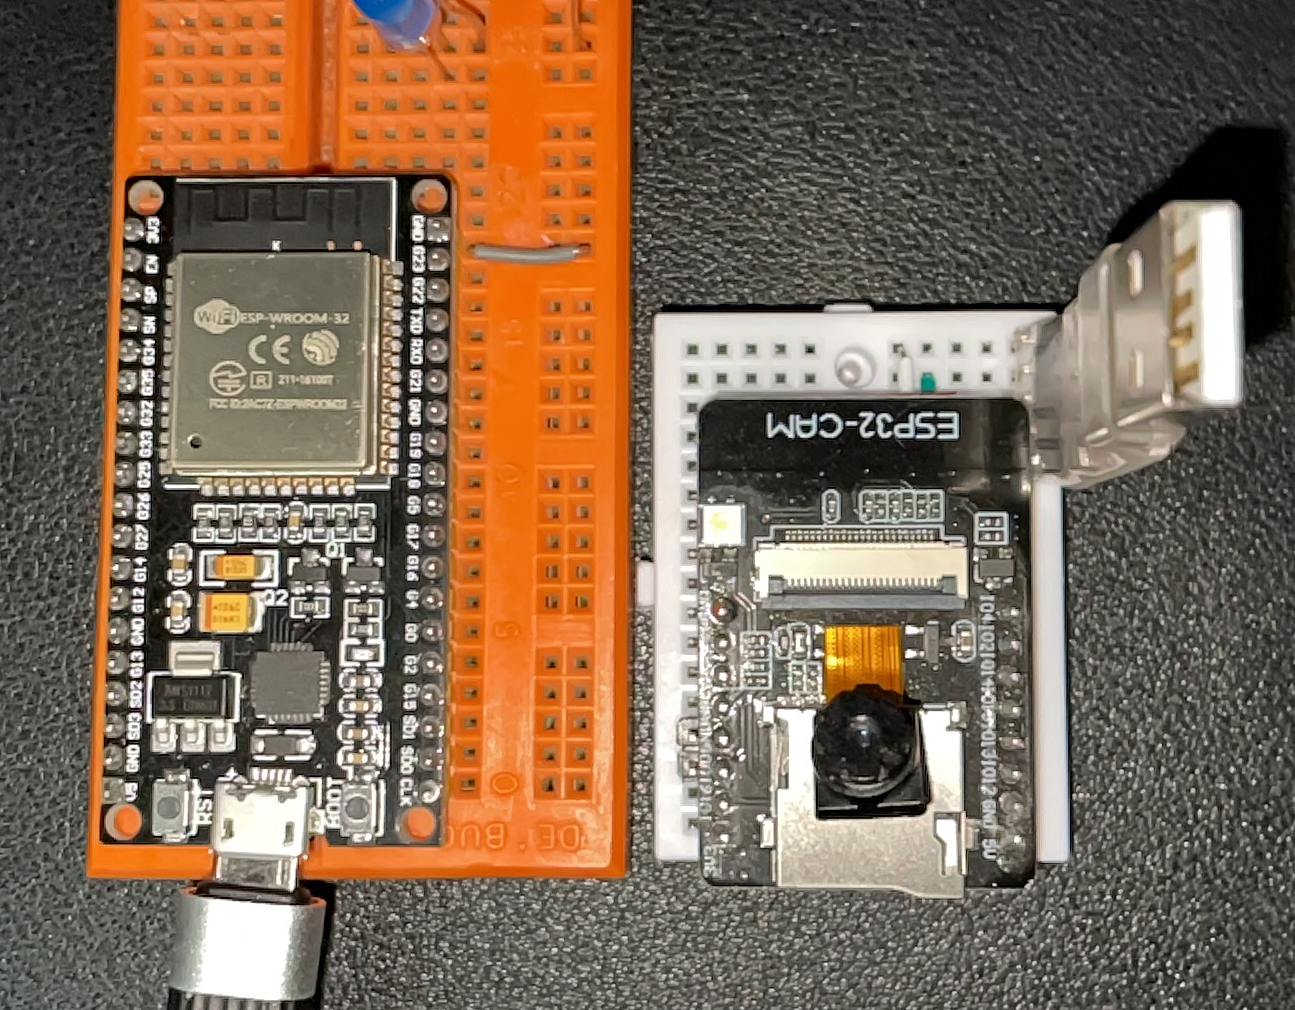
After a long period of inactivity, I decided to pull two microcontrollers from the ESP32 family out of the drawer and play with them in my spare time.
The first (and the oldest one) is an ESP-WROOM-32 development board.

The other one is an ESP32-CAM.
There are a few ways to write code runnable on an ESP3.
one based on the Python programming language
-
[Micropython]The other two are C/C++ based:
- Arduino ESP32;
- Espressif IoT Development platform also known as IDF;
My first device programming experiments will be with the latter of the two, IDF, firstly because it’s the one with its implementation of FreeRTOS.

Environment setup
IDF IoT Development Framework
Following the guidelines available in the official documentation, it’s easy enough to set up a ready-to-use development framework for any major operating system type.
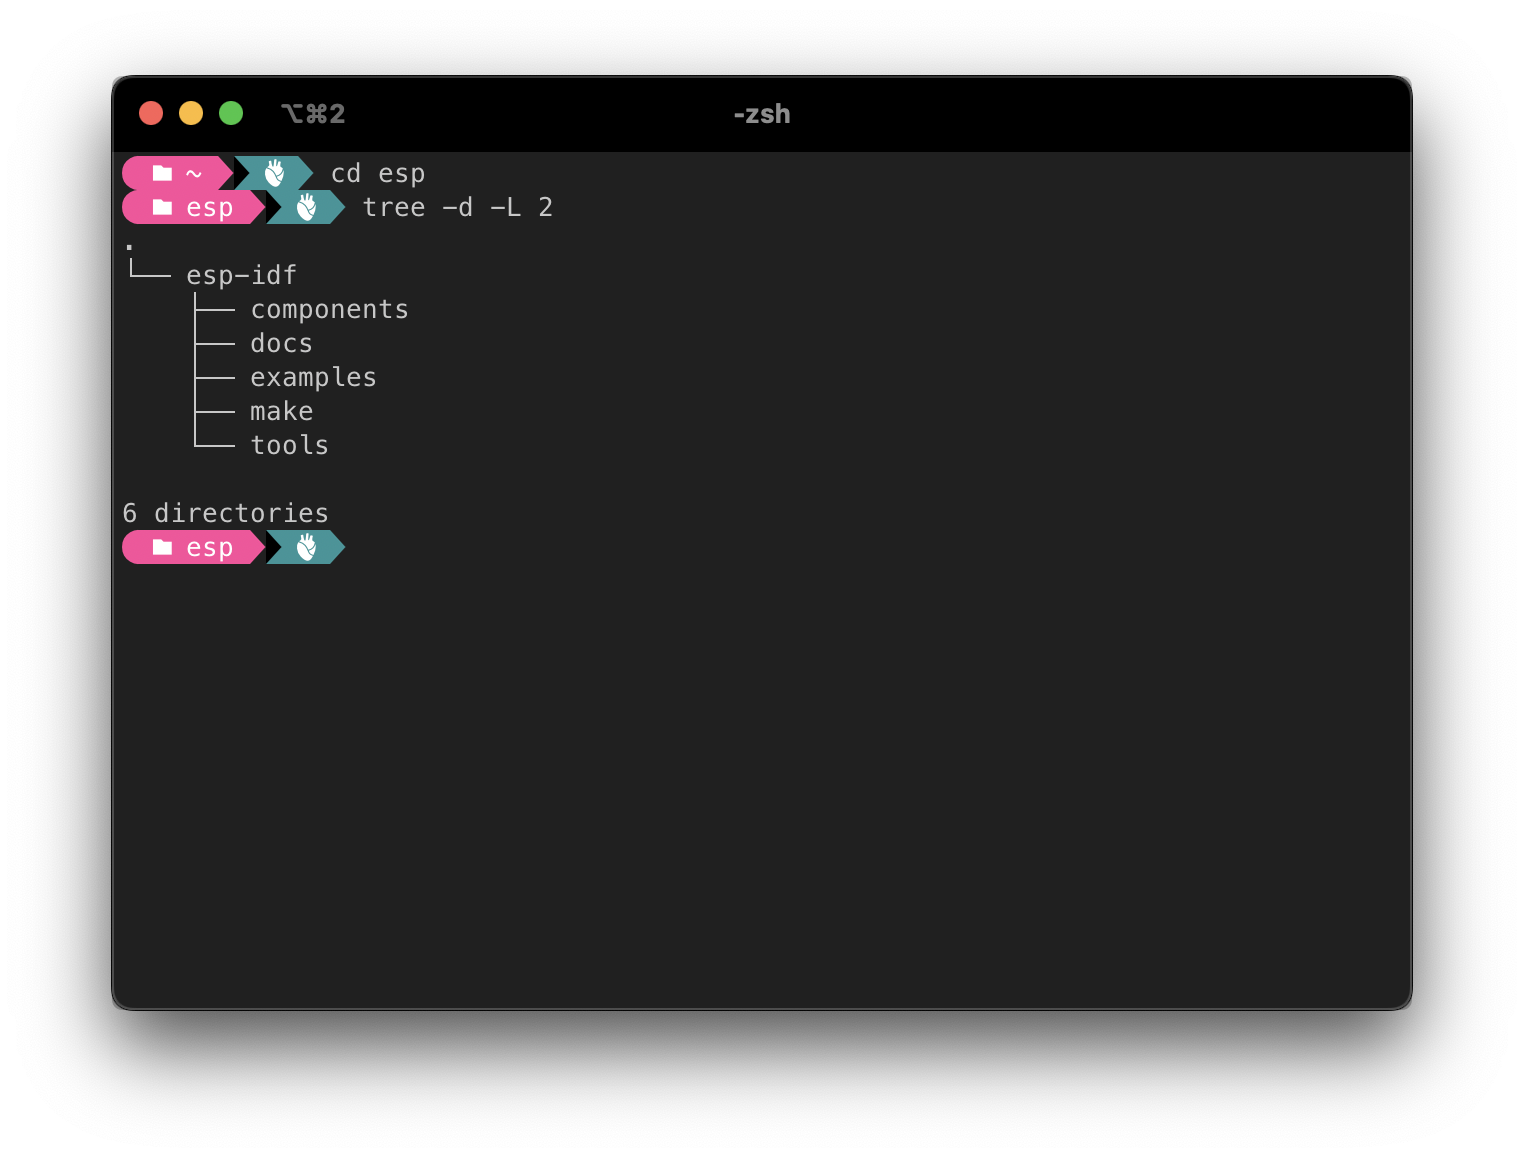
After the setup process, something like that should appear on the file system.

Code editor
Now that the environment is ready, all we need is a text editor to write our code. There are many choices Notepad++ on Windows, Sublime Text on macOS, Vim on Unix. My choice is Visual Studio Code on every platform.
Terminal
We have the environment, and the code editor last, but not least, we need a terminal app to build, flash and monitor our applications. Every OS has a default one, Windows has Windows Console app, and Windows Teminal, macOS has the default Terminal app, and every distribution of Unix has its own. My favourites are:
- iTerm2 combined with Z shell on macOs;
- Windows Teminal with Powershell 7 shell;
- The default GNOME TErminal on Ubuntu or Debian.
- The Visual Studio Code integrated terminal;
First Project
Following the official documentation, we can simply copy one of the sample projects we downloaded in the esp installation folder but, after all, we only need to configure a simple CMake project with the following folder structure.
└── 01.project-template
    ├── CMakeLists.txt
    └── main
        ├── CMakeLists.txt
        ├── Makefile
        └── main.cpp
In the root folder of the project, we have the first CMakeLists.txt configuration project containing a set of directives and instructions describing the project’s source files and targets (executable, library, or both).
cmake_minimum_required(VERSION 3.5)

include($ENV{IDF_PATH}/tools/cmake/project.cmake)
project(esp32-playground)
In the folder main we’ll find another CMakeLists.txt configuration with the following content:
idf_component_register(SRCS "main.cpp"
                       INCLUDE_DIRS ".")
a Makefile
#
# This is a project Makefile. It is assumed the directory this Makefile resides in is a
# project subdirectory.
#

PROJECT_NAME := esp32-playground

include $(IDF_PATH)/make/project.mk
and, finally, the main.cpp source file
#include <iostream>

extern "C" void app_main(void)
{
    std::cout << "Have fun!" << std::endl;
}
IDF Configuration
We’re almost there. The last step to build and flash our first app is to open a shell and set up the IDF’s environment variables with the following command:
~ . $HOME/esp/esp-idf/export.sh
then we need to tell IDF the target platform,
~ cd /src/01.hello-world
~ idf.py set-target esp32
build the project,
~ idf.py build
flash it on the controller
~ idf -p <port> flash
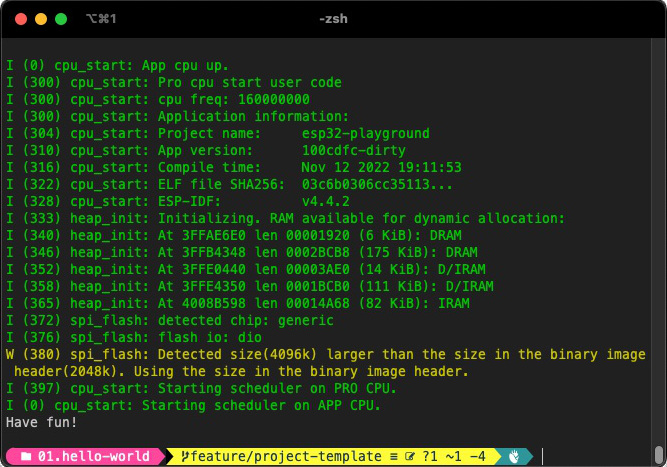
in my case and, finally, open a serial connection and check the result:
~ idf -p /dev/cu.usbserial-0001 monitor

That’s it. Enjoy ![]()